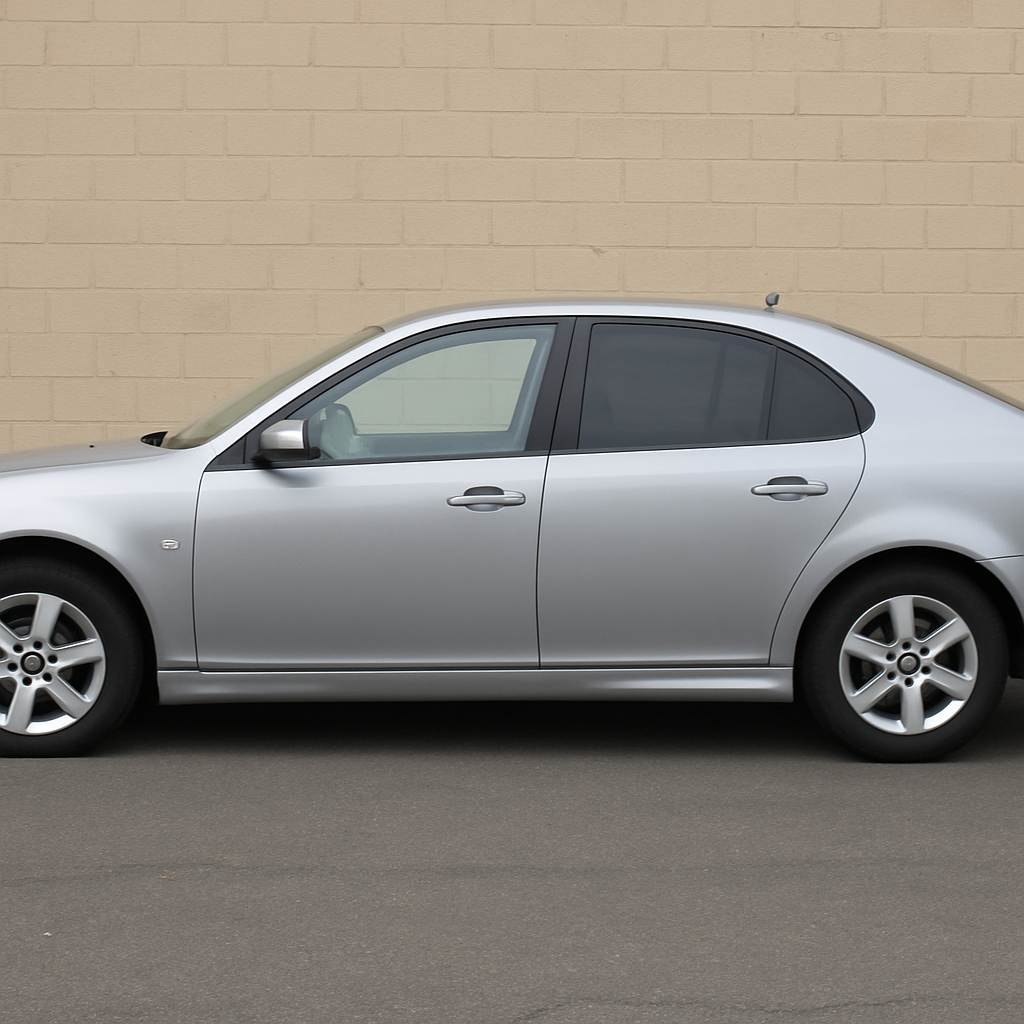
You know that blast of heat that hits you when you open your car door on a sunny day? Many people turn to tinted windows for relief, but they often make a costly mistake: assuming that the darker the tint, the cooler the car. That’s not just wrong, it’s a misconception that can leave you with a vehicle that still feels like an oven.
The truth is, a tint’s darkness only reduces visible light, much like drawing the shades at home. The real benefits of automotive window film come from blocking what you can’t see: invisible infrared rays that create heat and damaging UV rays that fade your interior. A high-quality UV protection car film can block this heat and radiation without needing to be limo-dark, which is the secret to a smart purchase that delivers the comfort and protection you’re actually paying for.
Is Your Car’s ‘Factory Tint’ Actually Tint?
Many SUVs and trucks come with “factory tint” on the back windows, but it’s not what you might think. This is actually privacy glass, where the glass itself is dyed dark during manufacturing. Unlike the window film you add later (known as aftermarket tint), it’s a permanent part of the window designed primarily to keep prying eyes out, not to block the sun’s energy.
While that darkness provides privacy, it offers minimal defence against the sun’s worst effects. It does a poor job of blocking the infrared heat that turns your car into an oven and doesn’t stop the UV rays that fade your interior. It’s like wearing cheap sunglasses that look dark but lack real UV protection, you get the look, but not the benefit.
The good news is you can fix this. A professional can install high-quality aftermarket film directly over your factory privacy glass. Even a virtually clear film can block immense amounts of heat and nearly all UV rays, adding the comfort and protection the glass lacks. Of course, when tinting any window, you have to know the rules.
How Dark Can You Go? Understanding Tint Percentages (VLT)
When it comes to the rules, the most important term you’ll hear is VLT. This stands for Visible Light Transmission, but it’s just a fancy way of saying “how dark the tint is.” The VLT number is a percentage that tells you how much light passes through the window. It’s a bit backward: a low percentage means a dark tint, while a high percentage means a lighter, more transparent one.
Finding the darkest legal tint isn’t a one-size-fits-all answer because every state has its own unique laws. To make it more complicated, these rules often change depending on the window, your front side windows usually have to be lighter than your rear windows. This is why you often see cars with a “mismatched” look. Before you even think about buying, your first step should be a quick online search for “[Your Country/State] window tint laws” to find the exact VLT percentages you can use.
So what do these percentages actually look like? Here’s a quick guide:
- 70% VLT: Very light, almost unnoticeable.
- 35% VLT: A popular medium shade that adds style and privacy.
- 20% VLT: A dark tint, offering significant privacy.
- 5% VLT: Often called “limo tint” because it’s extremely dark.
Choosing the right VLT is key for staying legal and getting the look you want. But to truly keep your car cool, the type of film you use is even more important than its darkness.
The Real Secret to a Cooler Car: Ceramic vs. Carbon vs. Dyed Film
While your tint’s darkness (VLT) is key for looks and legality, the film’s material is the real secret to a cooler car. Not all films are created equal when it comes to blocking heat. The price differences you see reflect performance and, more importantly, how long the car tint will last before it needs to be replaced.
The most budget-friendly choice is dyed film. It uses a layer of dye to get its dark look, providing privacy at a low cost. The trade-off is durability; after a few years in the sun, it can fade and turn that dreaded purple colour. It also offers minimal heat rejection, making it a choice based almost entirely on aesthetics.
A significant upgrade is carbon film. Infused with microscopic carbon particles, it has a true-black matte look that won’t fade and is more effective at blocking heat. The premium choice, however, is ceramic tint. This advanced film contains tiny ceramic particles that are exceptional at stopping the specific infrared rays, the part of sunlight you feel as heat, that make your car feel like an oven.
This leads to the game-changing benefit of ceramic film: it provides superior heat rejection without having to be dark. A light, legal ceramic tint can easily keep your car cooler than a dark, budget-friendly one. This means you don’t have to choose between comfort and legality. While the upfront cost is higher, you’re investing in powerful performance that protects both you and your car’s interior for years to come.
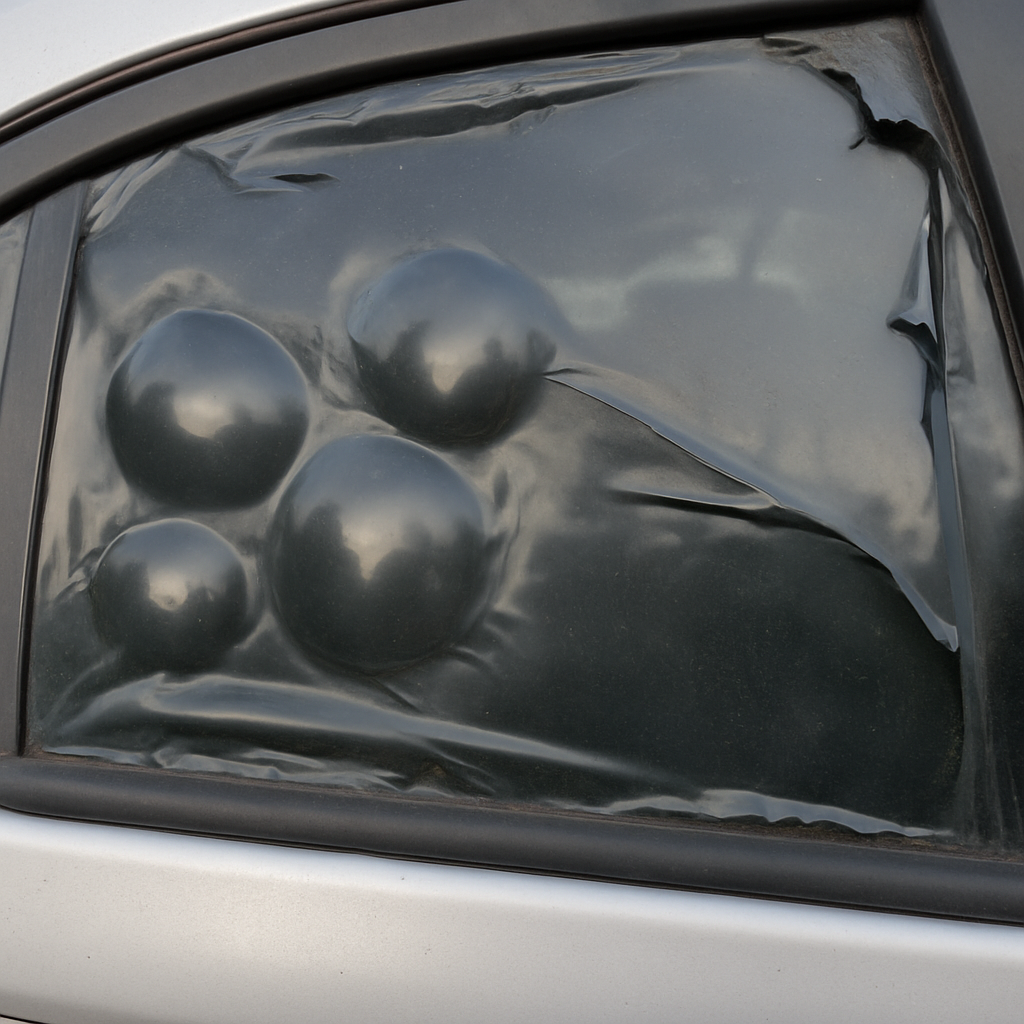
How to Spot a Quality Tint Job (And Avoid Bubbling Nightmares)
Even the most expensive ceramic film is worthless if it’s installed poorly. A professional auto tinting installation is a craft, and the difference between a great job and a bad one is immediately obvious if you know what to look for. While a few tiny water pockets may be visible for a couple of days as the film cures, large bubbles, dust, and peeling are red flags that signal a problem. These issues are almost always permanent and are not something that will “settle” over time.
A quality tint job should look like it’s part of the glass itself. Check the edges of the window, the film should be perfectly smooth, with no signs of lifting or peeling. Another tell-tale sign of precision is the top edge of a roll-down window. A top-tier installer will file the edge of the film so it sits perfectly flush with the glass, leaving no visible gap. A shoddy job, in contrast, will often have a noticeable gap or a jagged, uneven line that screams “aftermarket.”
Unfortunately, there’s no easy way to fix bubbling window tint. Fixing a botched job means paying a professional to painstakingly scrape off the old film and adhesive before starting the entire process over again. This makes choosing a reputable installer with a solid warranty not just a matter of aesthetics, but a crucial financial decision. Getting it done right the first time is always cheaper than paying to have it done twice.
Is DIY Window Tinting Really Worth the Savings?
Tempted by a cheap DIY window tinting kit? While the initial savings are appealing, it’s a deceptively difficult project to get right. The smallest speck of dust can create a permanent bubble, and aligning the film on the glass without creases takes immense practice. For most people, the result is wasted material and a finish that looks far worse than the bubbling jobs you hope to avoid.
The secret to a flawless finish lies in a technique most DIYers can’t replicate: heat shrinking. Since car windows are curved, professionals use a heat gun to expertly shrink and mould the flat film until it perfectly conforms to the glass. This skill is how they achieve that seamless, painted-on look, especially on complex rear windshields, and it’s what separates a professional auto tinting installation from a frustrating afternoon in the garage.
Ultimately, the cost of a professional installation buys you peace of mind. That price includes a warranty, if the film ever bubbles or peels, a reputable installer will fix it. With DIY, a mistake means you’ve wasted your money and now have to pay to get the botched film removed, making it the more expensive option in the end.
Your Tint Aftercare Checklist: 3 Simple Rules to Make It Last
Your new tint looks great, but the film needs a few days to fully “cure” and bond with the glass. You might notice a slight haziness or tiny water pockets at first, don’t panic! This is just moisture from the installation that will evaporate on its own within about a week. The most critical step is to leave your windows rolled up for 3 to 5 days to allow the adhesive to set properly.
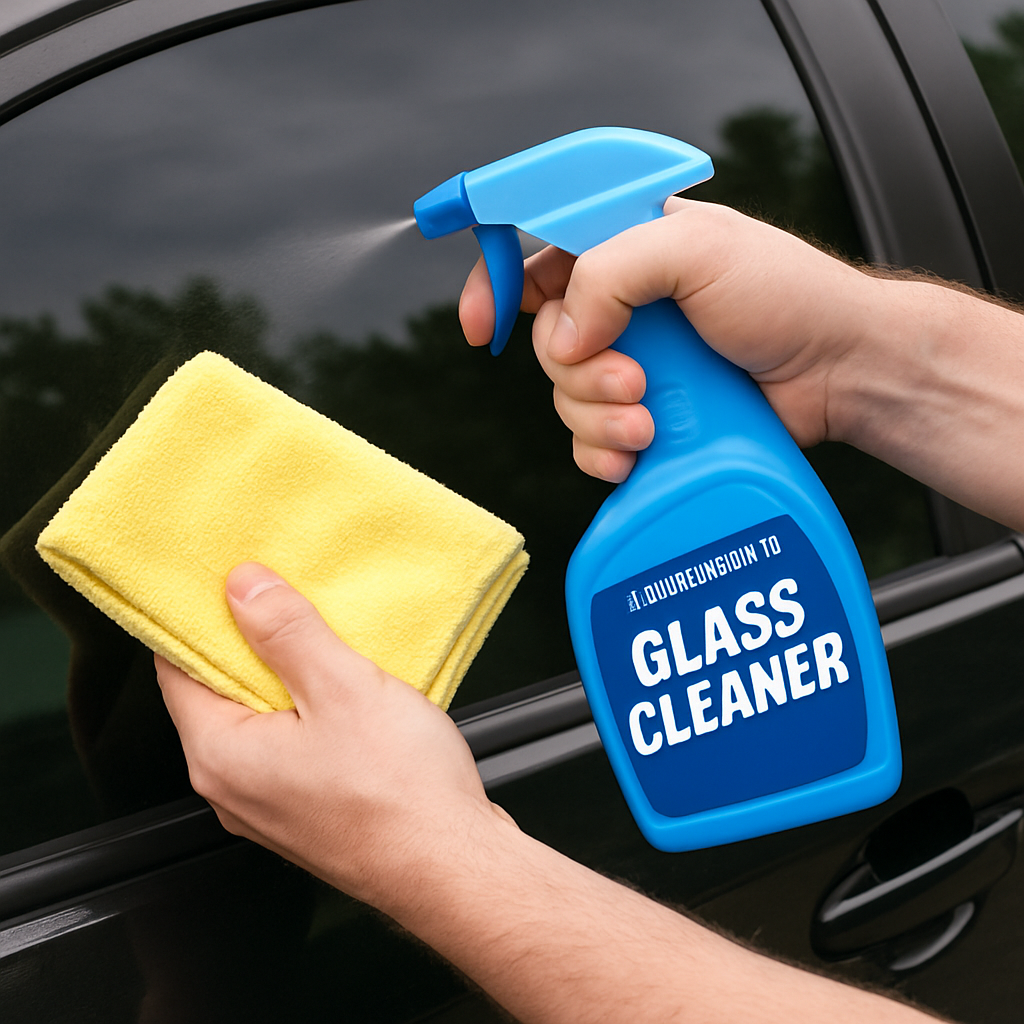
When it’s time to clean, the right products are essential for making your tint last. Always avoid ammonia-based glass cleaners (like many common blue formulas), as ammonia can break down the film’s adhesive and cause it to discolour and peel. Instead, stick to a designated ammonia-free cleaner and a soft microfibre cloth to prevent scratches and protect your investment.
To make it simple, just remember these three golden rules for new tint:
- Wait 3-5 days before rolling windows down.
- Expect some haze, it will clear up on its own.
- Clean with ammonia-free products only.
Your Blueprint for Choosing the Perfect Tint
Before today, you might have thought all window tint was the same. Now, you can see past the simple darkness of a window to the technology within, recognising that the right film does more than just look cool, it creates a shield for your comfort and your car’s interior.
Your path forward is simple. Start by checking your local laws to determine the right tint shade. Then, weigh your options, from the value of carbon to the superior heat blocking of ceramic film, based on your budget. The final, crucial step is selecting a specialist for a professional installation who stands by their work.
You’re no longer just guessing. You now have the knowledge to ask smart questions and make a confident decision. You’re not just buying a cosmetic upgrade; you’re investing in a cooler, more private, and better-protected vehicle for every journey ahead.